Materials Used
Cords used in this project is 100% cotton, each of them is 120 cm (43 inch) long. i.e. 8×120 cm (43 inch). Cotton is more friendly to the skin and feels more comfortable when wearing the bracelet.
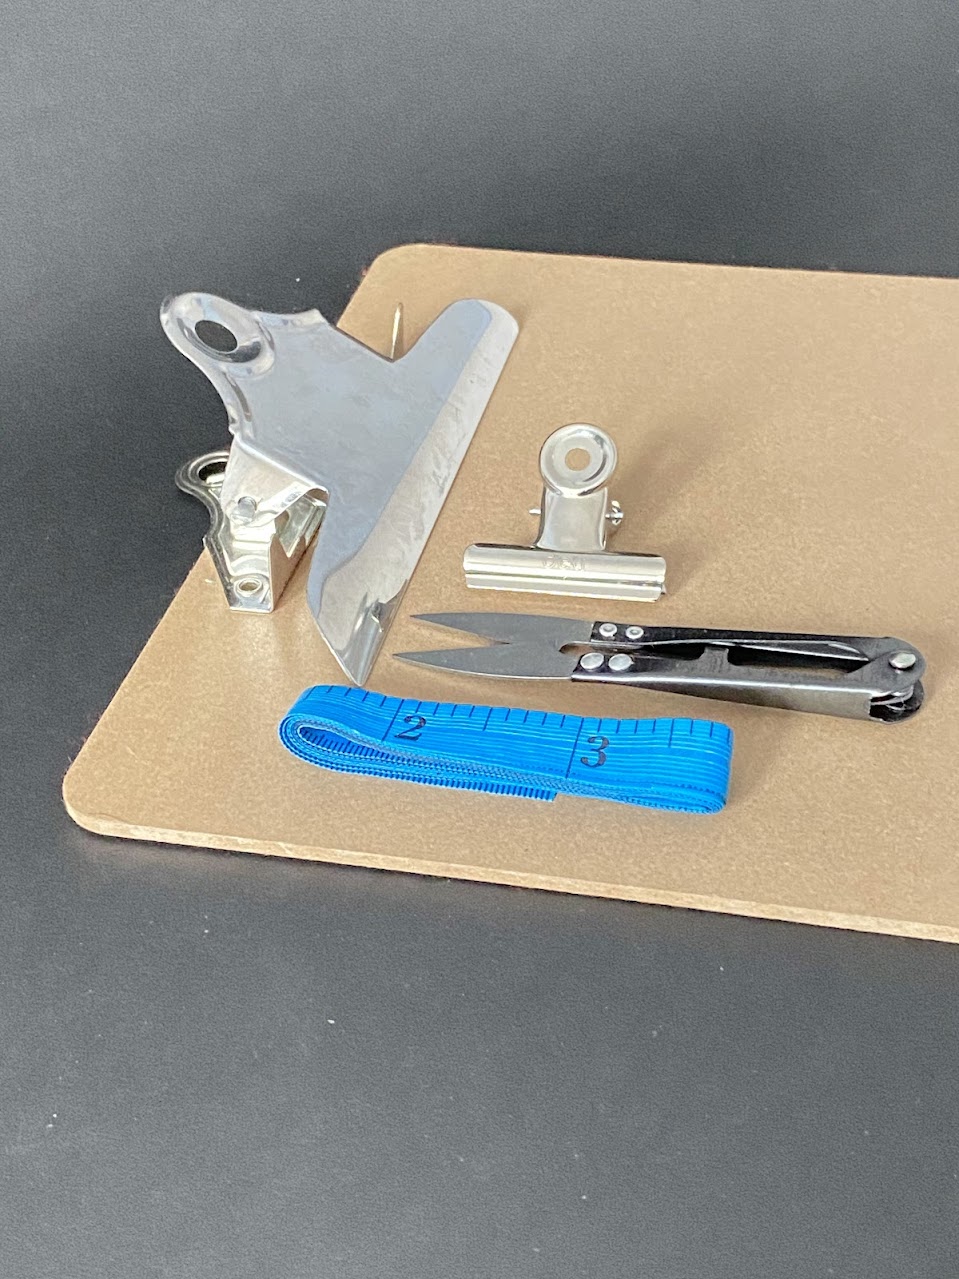
Other tools used: clamp or clamp clip, a board with a big clamp, ruler, scissor.
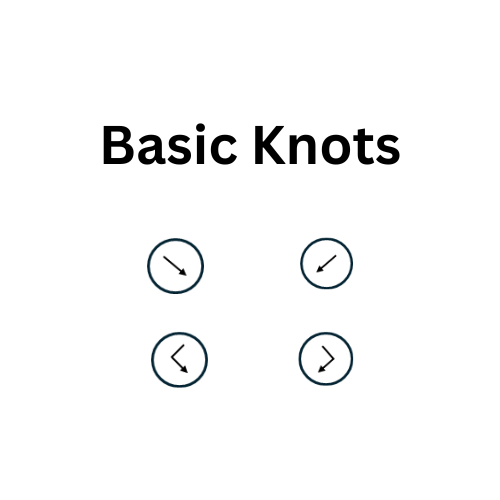
Braid Pattern
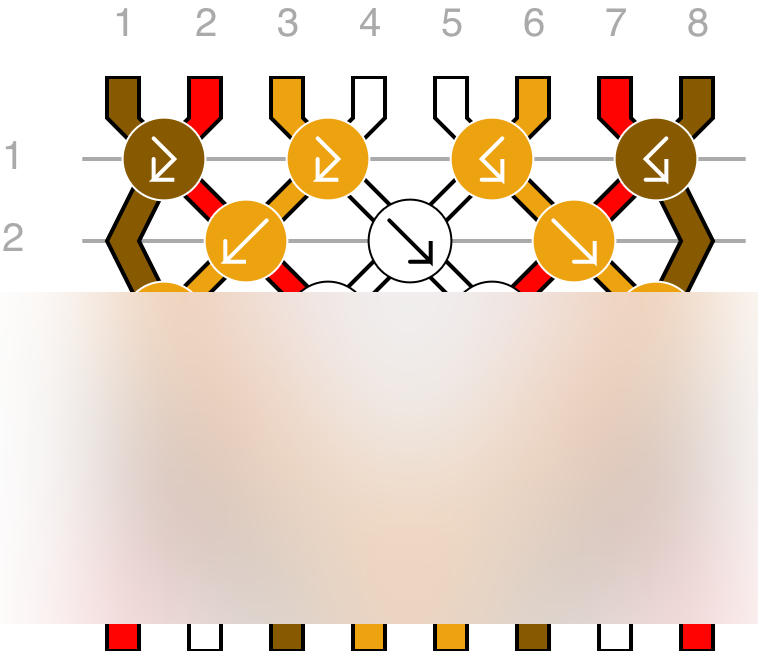
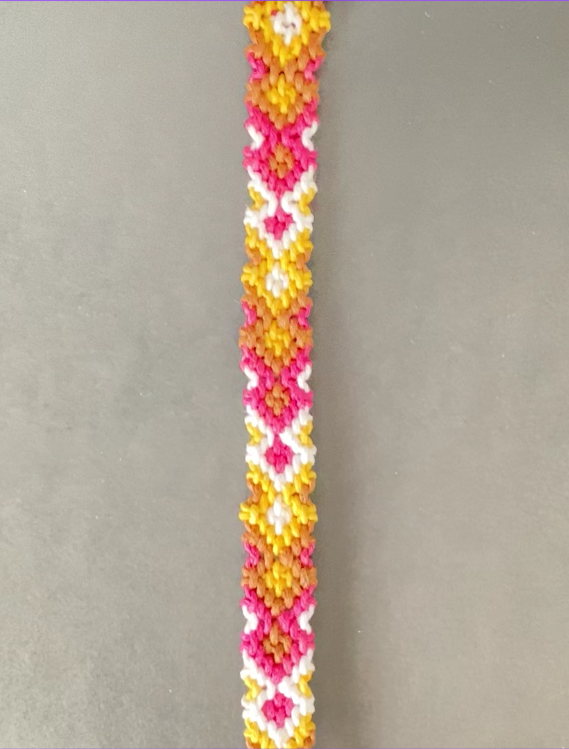
This bracelet is easy to make, the pattern is as follows:
- Number of Cords: 8
- Colour Used: 4
- Number of Rows: 6
The first 2 rows of the braid pattern looks like the following. You can get the complete pattern with step-by-step video tutorial here.
If you’re not familiar with the pattern diagram and how to use it, please read this post first.
Step-by-Step Making Instruction
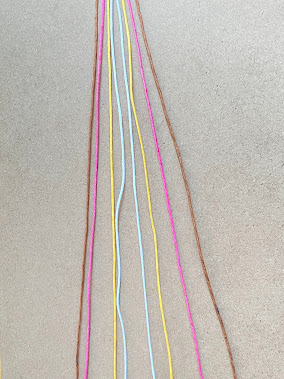
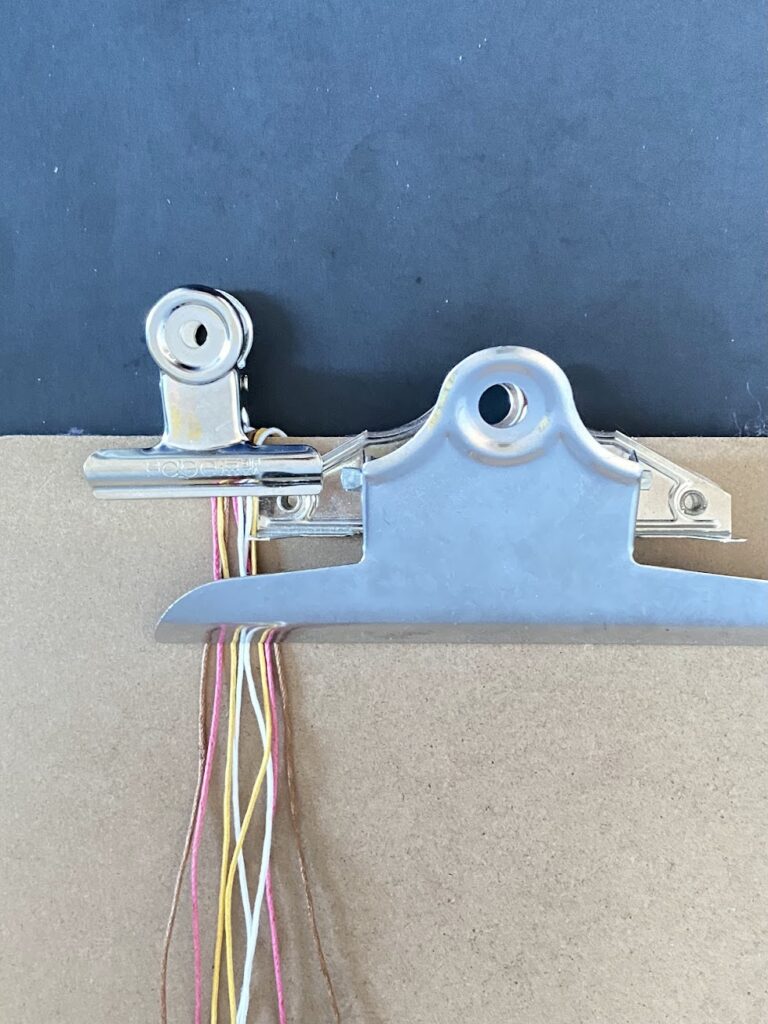
- Cut 8 cords, and line them up in the following order.
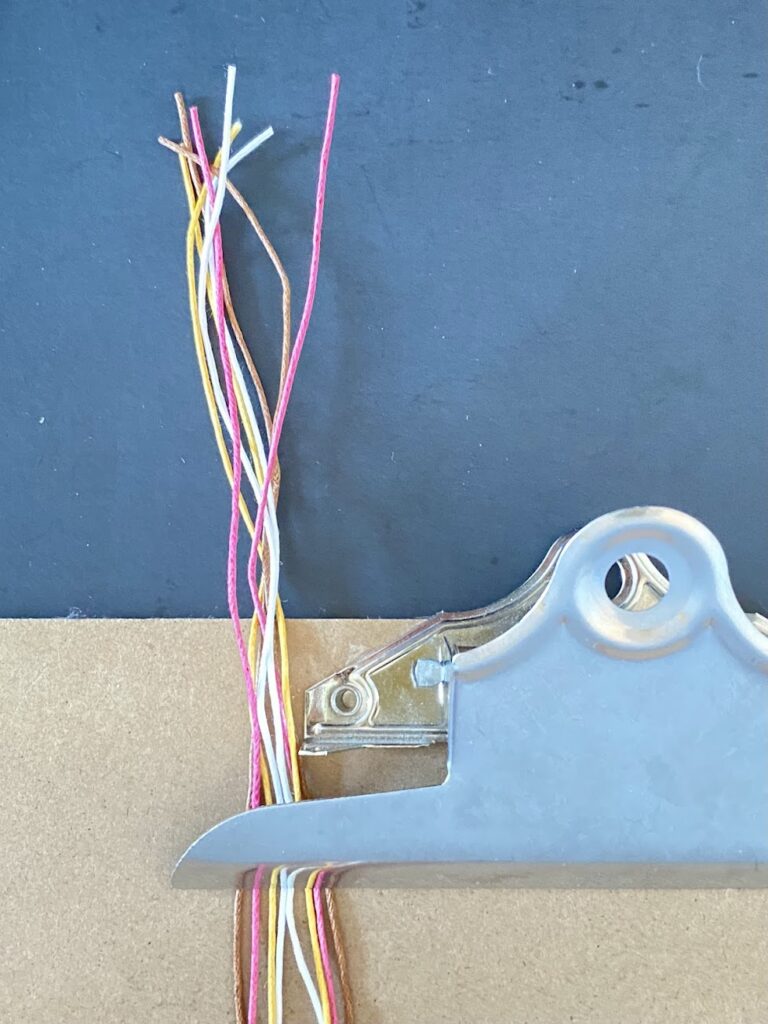
2. Leave 15cm (5.9in) on the top and fix it with the clamp.
3. Fix it with a second clamp. Then follow the pattern to start braiding the first row.
4. Finishing up
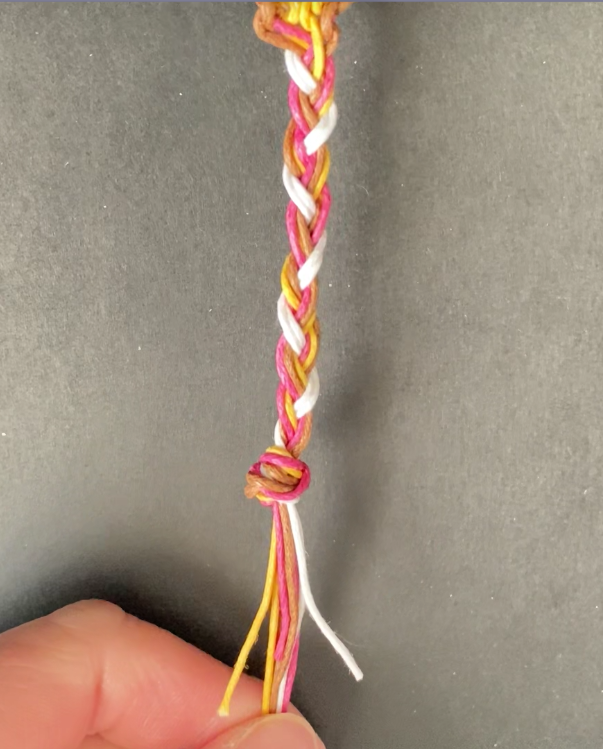
Repeat 1-6 rows until desired length. Separate 8 threads into 3 groups. Braid till reaching ~15cm in length, then tie a loop to close it, afterwards tighten it up by pulling each thread, and trim the extra.
Do the same on the other end for the reserved 15cm at the beginning.
Finishing up with one side adjustable sliding closure.

Video Tutorial
This video shows how to make the first row of the bracelet step-by-step:
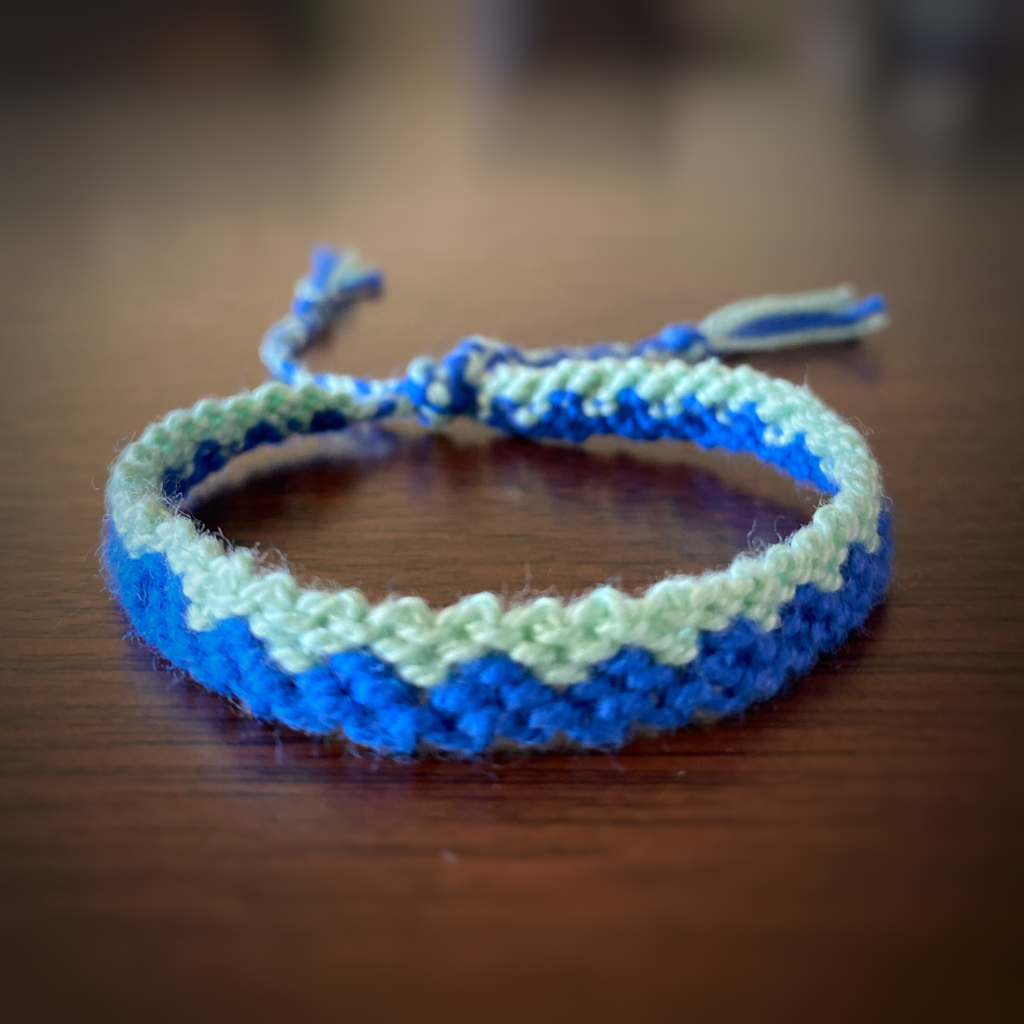
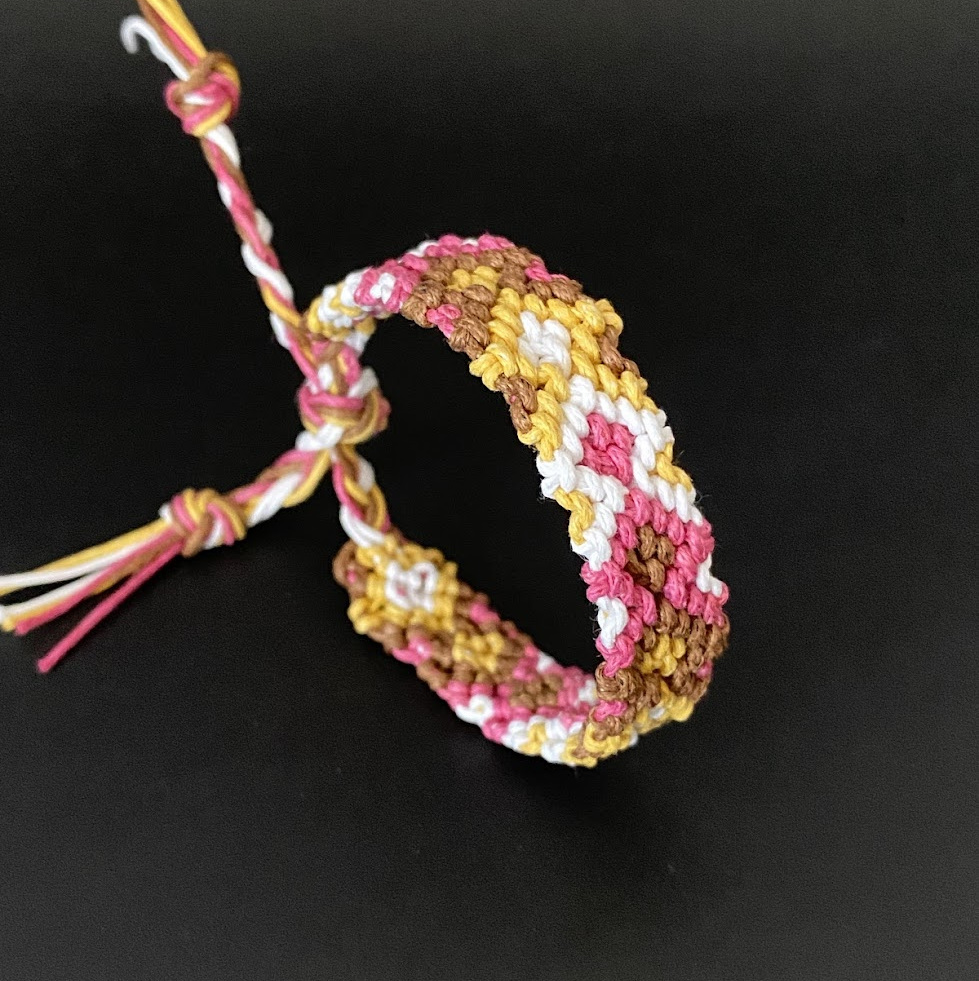
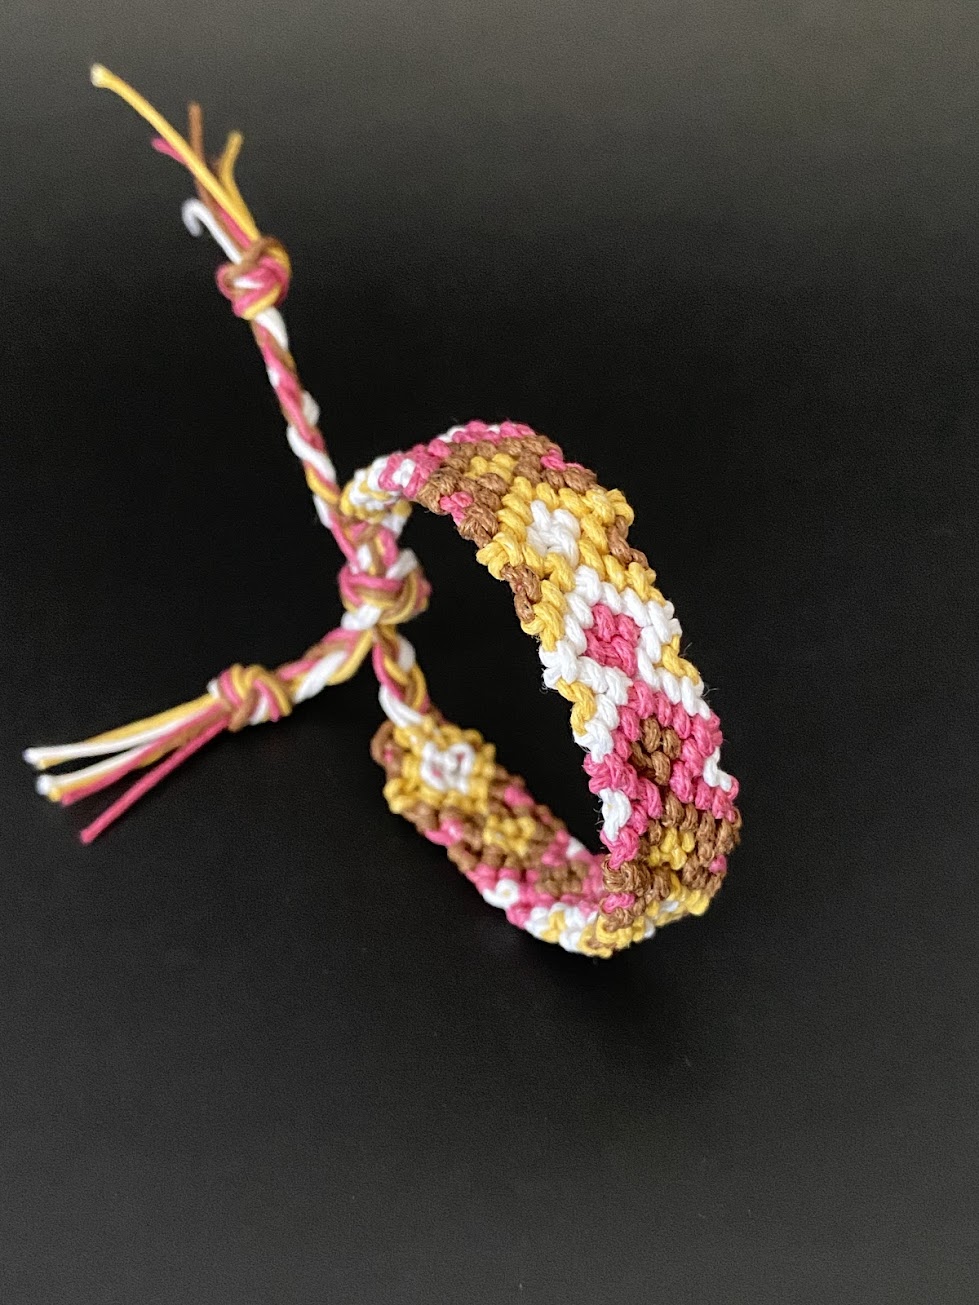
Final Result
Once you made yours, snap a quick picture and post it in the comment below. I would love to see how your final craft turns out and I bet other readers would like the same.